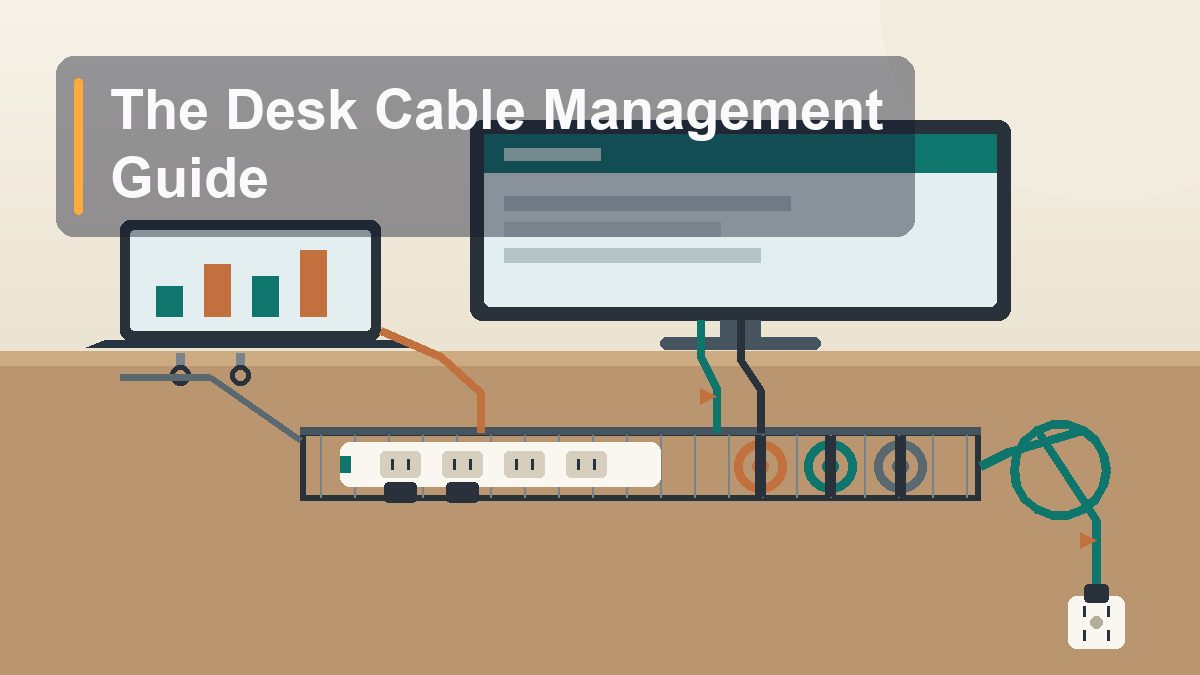
The Desk Cable Management Guide Nobody Gave You
The rat’s nest under your desk is not a personality flaw. It’s what happens when nine devices meet one power outlet with no plan in between — and it can be fixed permanently in about two hours, for under $60, with zero drilling if you don’t feel like drilling.
Every desk starts clean. You set up the monitor, plug in the laptop, and for one shining afternoon there are exactly four cables and they all behave. Then comes the USB-C hub. Then the webcam, the desk lamp, the phone charger, the second monitor, the speaker bar, the hard drive you only need sometimes but need right now every time. Nobody ever decides to create a cable nest. It grows the way a junk drawer grows — one perfectly reasonable addition at a time — until the day you kick something under the desk, the monitor goes black mid-call, and you find yourself on your knees in the dust bunnies, tracing wires with your phone flashlight like a bomb technician. This guide is the intervention. It works for standing desks, fixed desks, dual-monitor battlestations, and the kitchen-table setup you keep promising is temporary. The whole job takes one focused session plus a quarterly fifteen minutes, and the total shopping list costs less than one mediocre office chair.
Why Cable Messes Happen in the First Place
Two missing plans, not a character defect
Cable chaos has exactly two root causes, and neither is laziness. The first is that you never made a slack plan. Every cable you own is a generic length — usually whatever came in the box — which means almost every run is either two feet too short (so it hangs in the air, taut, waiting to yank something off the desk) or three feet too long (so the excess coils on the floor and mates with the other excess). Nobody plans where the extra length goes, so it goes everywhere.
The second cause is that you never made a power plan. The typical desk evolves around one wall outlet and one power strip that lives wherever it landed — usually the floor, usually behind the desk’s left leg, always just out of comfortable reach. From that random anchor point, every power brick stretches a different direction at a different tension, and the floor strip becomes a gravity well that pulls every other cable down into its orbit. Once your power strip is on the floor, the floor is your cable management system, and the floor is a terrible cable management system.
Everything else — the tangles, the dust, the mystery cable you dare not unplug — is a symptom of those two absences. Which is good news, because both are fixable with hardware that costs less than lunch.
The Unplug-Everything Reset
Yes, everything. It takes less time than untangling.
The instinct is to fix the nest incrementally — trace one cable, tidy it, move to the next. Resist this. Untangling a live setup is slower than rebuilding it, and you’ll spend the whole time working around cables you haven’t gotten to yet. The correct first move feels drastic and is actually faster: power everything down and unplug every single cable, at both ends.
Before you do, spend ninety seconds on documentation. Take three or four photos of the back of your monitor, the dock, and the computer with your phone — you will not remember which USB-C port the display was in, and some docks genuinely care. If anything about your setup is unusual (a specific HDMI port for 4K at 60Hz, a monitor that only wakes on one input), note it. Then pull everything. Pile the cables on the floor in the open, and while they’re there, sort them into three groups: cables in active use, spares worth keeping (one or two of each common type, max), and the graveyard — coax from a modem you returned in 2022, USB Mini-B (not Micro, Mini), chargers for devices you no longer own. The graveyard goes in a bag for e-waste; check your municipality’s electronics recycling or a Best Buy drop-off, which accepts cables free at most locations in the US and Canada.
Now you have something you’ve never had with this desk: a blank slate and an inventory. Wipe down the desk back and the floor — this is the only time they’ll be accessible — and you’re ready to rebuild in an order that actually works: power first, then data, then slack.
The Under-Desk Tray: Where the Mess Goes to Live
One $20–$35 purchase does 70% of the work
Here is the central insight of all cable management: cables don’t need to be beautiful. They need to be invisible and immobile. The under-desk cable tray — a wire basket or metal channel that screws or clamps to the underside of your desktop — is the single highest-leverage purchase in this entire guide. Brands like IKEA’s SIGNUM (the longtime classic, around $20), Monoprice, and VIVO all make versions; they attach with a handful of screws or, on some models, clamps that need no holes at all.
The tray’s job is to hold everything that doesn’t need to be on the desk: the power strip, every power brick, every coil of excess cable. Once the strip and bricks ride in a tray an inch below the desktop, the floor under your desk becomes what it should be — empty space for your feet. Mount the tray toward the back of the desk, roughly under where your monitor or dock sits, so the drops from desktop devices are short. Leave an inch or two between the tray and the wall so cables can pass behind it.
One consideration if you have a standing desk or hate screws: there are adhesive and clamp-mounted trays that hold a surprising amount of weight, and a strip of industrial-strength hook-and-loop tape (the 3M kind rated for 10-plus pounds) will mount a power strip directly to the desk’s underside with no tray at all. It’s slightly less tidy but fully reversible — the right answer for renters and commitment-phobes.
Ties, Sleeves, and Velcro: Picking Your Fasteners
Mostly velcro, zip ties only where nothing ever changes
Fasteners are where people either overspend or make a mess worse, so here’s the honest breakdown of the four options and when each one is right.
| Option | Cost | Best for | Watch out for |
|---|---|---|---|
| Velcro (hook-and-loop) ties | ~$8–$12 for 50+ | Bundling runs behind the desk, coiling spare length, anything you’ll ever rearrange | Buying tiny ones; get 6–8 inch ties for bundles |
| Zip ties | ~$5 for 100 | Permanent fixtures only: strip mounting, fixed cable runs | Cutting is the only undo; easy to overtighten and kink cables |
| Releasable zip ties | ~$7 for 50 | Semi-permanent runs you might touch twice a year | Bulkier heads; still overkill for most desks |
| Cable sleeves (neoprene or braided wrap) | ~$10–$18 | The one visible run — e.g., desk to floor on a standing desk — where a bundle looks messy | A pain to add a cable to later; hides rather than organizes |
The verdict for almost every desk: buy one big pack of 6- or 8-inch velcro ties and use them for everything. They’re reusable forever, they don’t kink cables, they cost pennies each, and adding a cable to a velcro’d bundle takes four seconds instead of a trip to find scissors. Zip ties have exactly two legitimate uses under a desk — strapping a power strip to a mount point and securing a cable run that will never, ever change — and even there, releasable zip ties are the smarter buy. A sleeve is a cosmetic choice for the one cable run people can actually see, like the drop from a standing desk to the wall. It makes that run look like a single purposeful conduit instead of a black licorice assortment.
Mount the Power Strip Like It Matters
Because it does — it’s the anchor of the whole system
Getting the power strip off the floor is the single most satisfying three minutes of this project. Most decent strips have keyhole slots on the back specifically for screw mounting, so if you’re installing a tray anyway, two screws through those slots into the tray’s base or the desktop underside is the cleanest mount. No slots, or no drilling? Industrial hook-and-loop tape on the strip’s back and the desk’s underside holds firm and peels off later. Clamp-on power strips exist too, gripping the desk edge like a monitor arm.
Orientation matters more than people think. Mount the strip so the outlets face sideways or down — never up, where dust settles and a spilled coffee has a direct path. Point the outlets toward wherever most of your bricks come from. And give the fat bricks a thought: a row of wall warts will block every second outlet on a tightly spaced strip, so either buy a strip with widely spaced outlets (often labeled “for adapters”) or keep two short 1-foot outlet extenders in your kit for the chunky ones.
While you’re here, the safety notes that are actually worth heeding: don’t daisy-chain one strip into another, don’t run a space heater or a laser printer through the desk strip (both belong in the wall outlet), and check that your strip is a surge protector and not just a dumb outlet multiplier — the packaging and the strip’s own label will say so. A strip with USB-C ports built in can also retire two or three phone and accessory bricks entirely, which is fewer things in the tray.
Cable Length Strategy and the Service Loop
Buy the right lengths once, coil the excess forever
Remember the slack plan you never had? This is it. The strategy has three rules. First, standardize lengths. Cables commonly come in 3, 6, and 10 feet. For a run from the desk surface to an under-desk tray, 3 feet is usually right; for the run from the tray to the wall outlet, 6 feet. Replacing two or three absurdly long cables with correctly sized ones (a decent certified USB-C or HDMI cable costs $8–$15) removes more clutter than an hour of coiling. Measure the actual path with a piece of string first — the desk-to-tray distance always surprises people by being short.
Second, coil the excess you can’t eliminate. Gather the slack into a loose loop about the size of your hand — never a tight wrap, which stresses the wire over time and is a genuine killer of charging cables — and velcro it. The coil lives in the tray or against the desk’s underside, not on the floor. Loose loops matter especially for anything with a fiber optic core (some long HDMI cables) and for USB-C cables you care about keeping alive.
Third, build in a service loop. This is the trick professionals use and nobody tells home desk owners about: deliberately leave one extra coil of slack in every run — a single loose loop, velcro’d, near the tray. That spare foot means you can pull the monitor forward to reach a port, slide the laptop out of the dock, or shift the whole desk six inches from the wall without unplugging a thing. The service loop is the difference between a setup you can maintain and a setup that’s tidy exactly once, forever frozen because moving anything undoes it. For standing desks, the service loop is non-negotiable: leave enough slack in the drop to the wall for full desk height, plus a hand’s width, and verify by raising the desk to its maximum before you call the job done.
Routing the Actual Setup: Monitor, Laptop, and Dock
A repeatable pattern that works for almost any desk
With the tray mounted and the strip anchored, routing follows one pattern regardless of your gear: everything goes down, back, and across — never diagonally through the air. Run cables along the desk’s rear edge, drop them into the tray zone, and use adhesive-backed cable clips (a 20-pack costs about $8) screwed or stuck along the desk’s underside every foot or so to hold the horizontal runs. A cable is tidy when you can’t see it from a seated position at the desk. Stand up and look; that sightline is the test.
The cleanest modern desk runs through a USB-C or Thunderbolt dock. One cable from laptop to dock, and everything else — monitors, Ethernet, keyboard, webcam, charger — plugs into the dock, which lives in or beside the tray. Docks from CalDigit, Anker, Plugable, and OWC dominate this space, and even a $100–$150 model turns a daily six-cable laptop ritual into one magnetic-ish click. If your employer issued a dock, this is why: it’s not just convenience, it’s the entire cable count. A laptop-stand setup pairs perfectly here — laptop raised on a stand, single cable to the dock, and the stand’s own frame doubles as a cable routing spine.
For dual monitors, the trick is symmetry and the monitor arms. If your monitors are on arms, route both display cables and power down through or alongside the arm itself (most arms have clip channels for exactly this) — the cables move with the monitor and never hang. Group the two monitor power bricks side by side in the tray so they share velcro’d runs. And put the devices you rarely touch — speakers, the USB hub’s brick, the monitor power — deepest in the tray, with the things you occasionally unplug closest to the edge.
Labels, Clips, and Grommets: The Finishing Layer
Label both ends. Future you will be unbearably smug.
Labeling cables feels like overkill right up until the first time you need to unplug one specific brick from a power strip of identical black bricks — then it’s the best four minutes you ever spent. The rule: label both ends of every cable, near the connector, with what it connects to. “Monitor L power” at the strip end and at the monitor end. When something needs unplugging, you identify it from either side without the flashlight-and-tug method.
You don’t need a label maker, though a $25 Brother P-touch makes deeply satisfying printed flags. The free version works fine: write on masking tape or painter’s tape with a fine marker and fold it into a flag around the cable, or use the plastic bread-bag tags you already own — the classic zero-dollar cable label. Color coding is the lazy genius alternative: a dot of colored tape or nail polish at both ends, red for the monitor, blue for the dock. Matching colors identify a cable as reliably as words.
For the desktop surface itself — the charging cables that must stay reachable — magnetic cable clips (small adhesive bases with magnetic tips that grip the cable end) keep the phone and laptop cables parked at the desk’s edge instead of sliding behind it every night. A weighted desktop cable holder does the same job with zero adhesive. And if your desk has a grommet — the round hole in the desktop, or the plastic cover filling one — use it as the official border crossing: all cables that travel between surface and underside go through the grommet, nowhere else. If your desk has none and you want one, a 2-inch hole saw and a $4 grommet ring from the hardware store is a five-minute job on most desktops — but the adhesive clips along the back edge accomplish nearly the same thing with no drilling at all.
The 15-Minute Quarterly Tidy
Maintenance beats heroics, every single time
The reason most cable management fails isn’t the initial setup — it’s that desks are living systems. You add a device, borrow a cable, swap a monitor, and entropy resumes its patient work. The countermeasure is a standing fifteen-minute appointment, once per quarter, that follows the same short script.
Minutes one through five: look under the desk and evict anything new that doesn’t belong — the cable from the borrowed monitor, the charger for the gadget you returned. Five through ten: re-velcro any coils that have sagged, re-seat any clip that let go, and raise the standing desk to full height (if applicable) to confirm nothing pulls taut. Ten through fifteen: dust. The tray, the strip, and the coils are dust magnets, and a microfiber cloth plus a few bursts from a $6 can of compressed air keeps the whole system from turning back into a bunny farm. That’s the entire ritual. Fifteen minutes, four times a year, and the under-desk view stays boring forever — which, in cable management, is the highest compliment there is.
This article is educational and reflects general best practices for home and office desk setups. Product categories mentioned — cable trays, velcro ties, USB-C docks, surge protectors — are widely available from multiple brands; no affiliate links or sponsored content. For electrical safety specifics, follow the surge protector and device manufacturers’ documentation. External references verified live at publication, August 2026.